Geospatial Data Extraction
Service interruptions
This application is currently experiencing disruptions. Not all requests may successfully process and our technicians our working on a solution.
We apologize for any inconvenience this may cause.
In the meantime, you can access Elevation, HRDEM Mosaic, Automatic Extraction Data and CanVec datasets from the FTP site.
-
Data extraction guidePDF version
Welcome to the geospatial data extraction tool!
This slide deck will guide you through all options available and hopefully help you find what you are looking for.
The purpose of this application is to provide tailored geospatial dataset based on your needs. Here are the basic steps to extract data:
- Select which data product to clip
- Find and select the clipping area
- Fill the extraction form and submit it
- Receive email and download your package
-
Overlay reference layers
Want more info, click here !
This section offers contextual information to help you localize and select a clipping area. For the moment, there is only one basemap layer offered.
All overlays are transparent at first. Moving the slider from left to right will increase the opacity of the overlay until it reaches a 100%.
Overlays -
Select data to be extracted
Basemap and reference overlay are not included in the extraction package.
Want more info, click here !
This section list all products from which it is possible to extract data.
Choose one product and proceed to the following section "Select options and submit job". At any moment you can come back and choose another product.
The basemap and reference overlay data are not included in the extraction package.
-
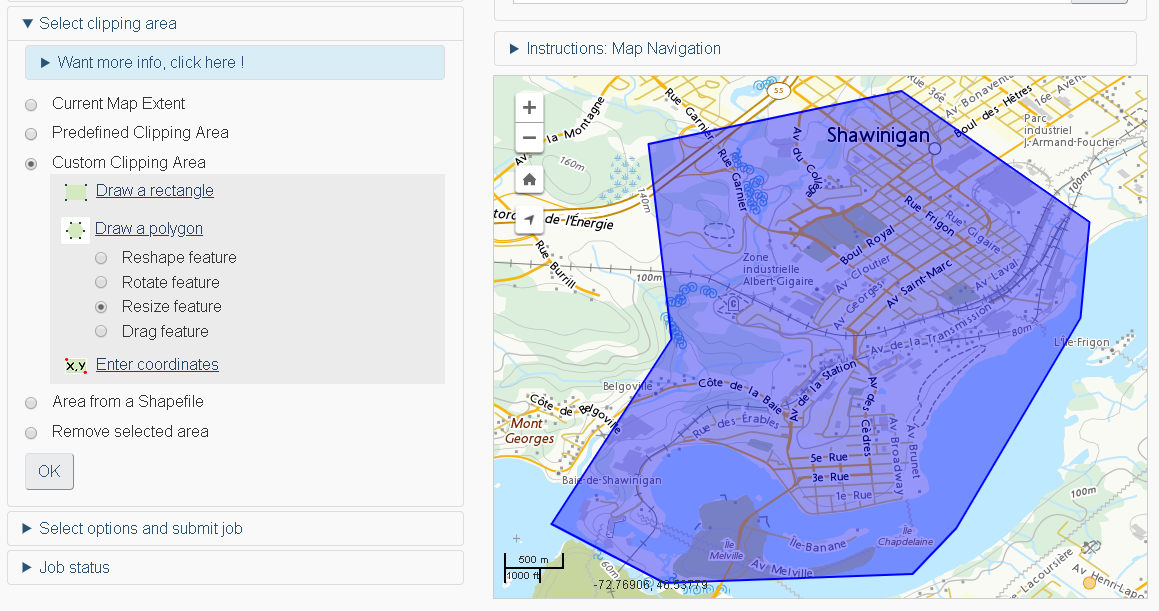
Select clipping area
Want more info, click here !
A clipping area delineates a geographic region of interest. The application uses the clipping area to apply a spatial filter to return data entirely within this area.
Several options are available to select a clipping area
Current map extent
This option selects a bounding box that covers the extent of the map. To change the selected extent, zoom in / zoom out / pan and click the radio button again.
Predefined clipping area
This option proposes 3 types of tiling coverages via a delimitation service.
- Drainage areas
- Landsat image footprints
- Map sheets from the National Topographic System (NTS)
Custom clipping area
This option lets you draw and edit directly on the map a bounding box or a polygon. You can also enter a pair of geographic coordinates.
Draw a rectangle
With the rectangle drawing control active, click on the map and drag the mouse to get a rectangle. Release the mouse button to finish. Once the geometry is drawn you can resize, reshape, rotate and drag it.
Reshape feature
After activating this option, click on a feature's vertice (orange circle) and move it to the desired position. Release the mouse button to finish.
Rotate feature
After activating this option, click on the feature's rotation handle (orange circle on the bottom right) and rotate the feature to the desired angle. Release the mouse button to finish.
Resize feature
After activating this option, click on the feature's resize handlre (orange circle on the bottom right) and resize the feature to the desired size. Release the mouse button to finish.
Drag feature
After activating this option, click on the feature's drag handlre (orange circle in the middle) and drag the feature to the desired position. Release the mouse button to finish.
Draw a polygon
With the polygon drawing control active, click on the map to add points that make up the polygon. Double-click to finish drawing. Once the geometry is drawn you can resize, reshape, rotate and drag it.
Reshape feature
After activating this option, click on a feature's vertice (orange circle) and move it to the desired position. Release the mouse button to finish.
Rotate feature
After activating this option, click on the feature's rotation handle (orange circle on the bottom right) and rotate the feature to the desired angle. Release the mouse button to finish.
Resize feature
After activating this option, click on the feature's resize handlre (orange circle on the bottom right) and resize the feature to the desired size. Release the mouse button to finish.
Drag feature
After activating this option, click on the feature's drag handlre (orange circle in the middle) and drag the feature to the desired position. Release the mouse button to finish.
Enter coordinates
Enter the lower left and upper right coordinate in the appropriate fields. Once all the fields have been filled out, click on the "Display area on map" button to draw the bounding box on the map.
Area from a Shapefile
It is now possible to add one or more polygons from a Shapefile as a clipping area.
This new feature accepts a zip file of a Shapefile.
Supported coordinate systems :
- NAD83 UTM
- NAD83 LAT/LON
- NAD83 LAMBERT
Remove selected area
If a clipping area has been previously selected, this option will remove the selection from the map and the extraction form.
-
Select options and submit job
Want more info, click here !
If no form appears, please select a data product from the Select data to be extracted section.
Fill out the form and submit it.
The form is validated before being sent to the processing server. If any errors occur you will be informed. Fix the problem and resubmit the form.
-
Job status
Want more info, click here !
This section gives information on the treatment status of each job successfully submitted.
The following table describes the different status that can be returned by the processing server.
Status Description Submitted The job has been received by the server but has not been added to the job queue. Queued The job has been added to the job queue and is waiting to be processed. Success The job has completed and the transformation was successful. Processing error The job has completed, but a failure was reported while attempting to run the transformation. Server failure The server could not process the job. Processing The job has been pulled from the job queue and is being processed.


Find a location
Instructions: Map Navigation
Keyboard users: When the map is in focus, use the arrow keys to pan the map and the plus and minus keys to zoom. The arrow keys will not pan the map when zoomed to the map extent.


- Date modified: